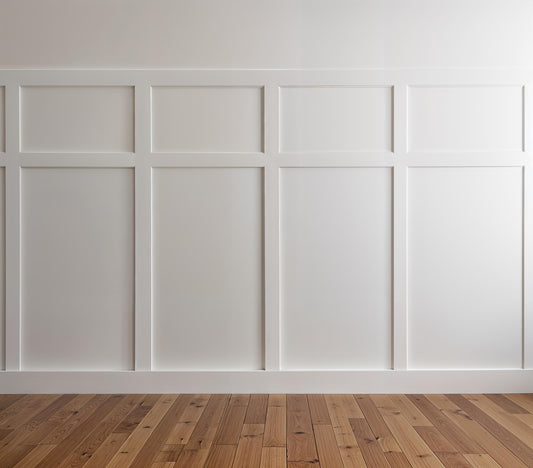
How to Install Wall Molding Without a Saw: The Easier DIY Method
Love the look of picture frame molding but don’t own a miter saw? You’re not alone. One of the biggest things that stops homeowners from adding decorative wall molding is the thought of measuring every piece, figuring out 45-degree angles, and learning how to use power tools.
The good news is that you can create beautiful, custom-looking walls without owning a saw at all.
With pre-cut wall molding, the difficult measuring and cutting can be done for you. That means your project becomes much simpler: plan your design, position the pieces, attach them to the wall, and paint.
Here’s how it works.
Can You Install Wall Molding Without a Saw?
Yes. The easiest way to install wall molding without a saw is to purchase a pre-cut wall molding kit made to the dimensions of your wall.
Instead of buying long lengths of molding and cutting every corner yourself, your molding arrives already cut into the individual pieces needed to create your design.
This is especially useful for picture frame molding, where each rectangular panel normally requires four accurately measured pieces with mitered corners.
With a pre-cut kit, you can skip one of the most intimidating parts of the project entirely.
What You'll Need
Installing pre-cut wall molding requires surprisingly few tools:
- Pre-cut wall molding pieces
- Measuring tape
- Pencil
- Level
- Construction adhesive and/or brad nailer
- Brad nails, if using a nailer
- Paint
- Paintbrush or small roller
- Filler for nail holes or seams, if required
At WondrWallz, our molding is made from lightweight polyurethane and arrives pre-primed, so it is ready to install and paint.
Step 1: Choose Your Wall Molding Design
Before installing anything, decide what style of molding you want.


Some popular options include:
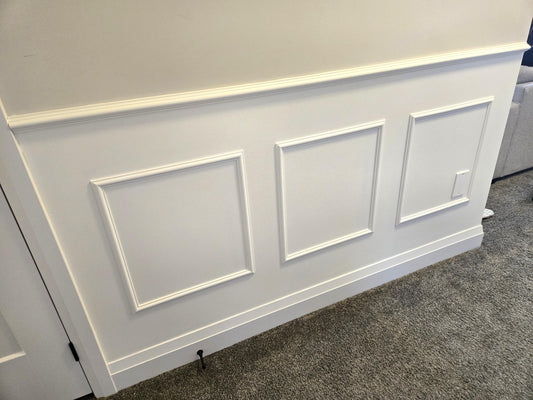
Picture frame molding — rectangular frames applied directly to the wall.
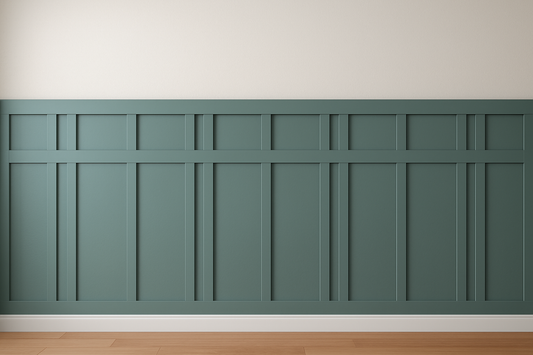
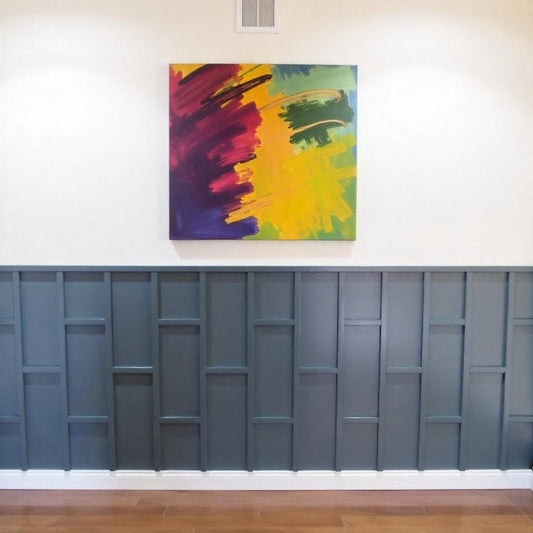
Half-wall molding or wainscoting — molding panels below a chair rail or dado rail.
Full-wall molding — panels extending from above the baseboard toward the ceiling.
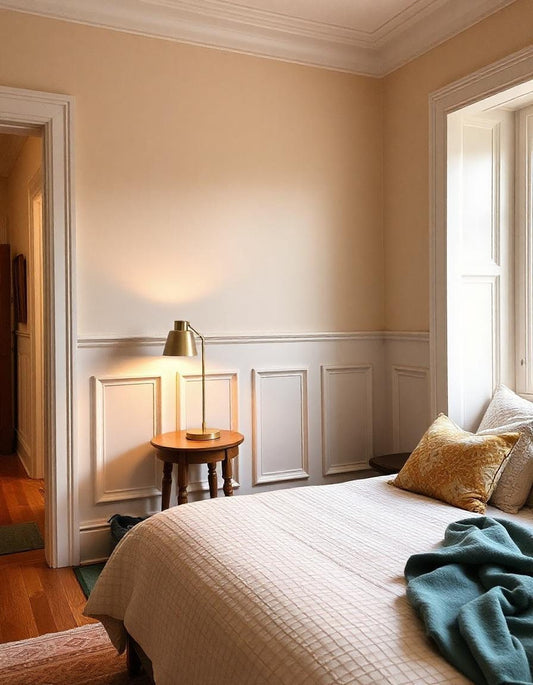
French or Parisian-style molding — often uses taller panels, decorative proportions, chair rails, or double/nested frames for a more traditional European appearance.
The right layout depends on the dimensions of your wall, ceiling height, furniture, windows, doors, outlets and switches.
This is one reason custom-sized molding kits can make the project much easier: the layout can be designed around your actual space instead of trying to make a standard-size kit fit.
Step 2: Measure Your Wall
Accurate measurements are important even when you're not doing the cutting yourself.
Measure:
Wall width — from one end of the wall to the other.
Wall height — from floor to ceiling.
Baseboard height and depth — particularly important if your molding will extend down to the baseboard.
Also note the locations of anything that could interfere with the molding, including:
- Electrical outlets
- Light switches
- Windows
- Doors
- HVAC vents
- Built-ins
- Fireplaces
For a custom WondrWallz project, these measurements can be used to plan the layout and determine the individual molding sizes before the pieces are cut.
Step 3: Plan Your Spacing
Good spacing can make the difference between wall molding that looks professionally designed and molding that feels awkward or crowded.
Don't assume every panel has to be exactly the same size.
For example, a wall with a bed centered on it might look better with one large center panel and narrower panels on either side. A long hallway may look better with several evenly spaced rectangles.
Your molding should work with the architecture and furniture in the room.
A helpful rule is to keep the spacing visually consistent wherever possible — between panels, around the edges of the wall, and above the baseboard.
Step 4: Lay Out Your Pre-Cut Molding
Once your molding arrives, organize the pieces before attaching anything to the wall.
If you're creating picture-frame molding, group together the pieces for each rectangle.
Then lightly mark the intended position of each panel on the wall with a pencil.
A level is important here.
Even if your ceiling or floor isn't perfectly level — which is surprisingly common — you want the molding itself to appear straight and intentional.
Step 5: Attach the Molding to the Wall
There are two common ways to install lightweight polyurethane molding:
Construction adhesive: Apply an appropriate adhesive to the back of the molding and carefully position it on the wall.
Brad nails: A brad/finish nailer can make installation faster, particularly for larger projects. For WondrWallz polyurethane molding, we generally recommend nails of at least 1.5 inches when using this method.
Some installers choose to use a combination of adhesive and brad nails.
Polyurethane is softer than wood, so if you're using a nail gun, avoid excessive pressure that could drive the nail too deeply into the molding.
Step 6: Complete Each Picture Frame
For traditional picture-frame molding, the pre-cut pieces meet at the corners to form the finished rectangle.
Check each piece with your level as you work rather than installing the entire wall and checking afterward.
This is also why having the pieces professionally pre-cut can be so useful. You're assembling the design rather than repeatedly measuring and cutting 45-degree corners yourself.
No miter saw. No pile of incorrectly cut molding.
Step 7: Fill and Finish
Once all of the molding has been installed, inspect the wall.
If you used brad nails, fill the small nail holes. Any small visible joints or imperfections can also be filled as needed.
Allow the filler to dry and lightly sand where necessary for a smooth finish.
Then you're ready for paint.
Step 8: Paint the Molding and Wall
For the seamless, built-in look that's popular in modern interiors, paint the molding the same color as the wall.
This makes the molding look like an architectural feature that has always been part of the home.
You can also create contrast by using different colors above and below a chair rail or dado rail.
Because WondrWallz polyurethane molding is pre-primed, it is ready for your chosen paint color after installation and finishing.
What If You Need to Make a Small Cut?
Even with a pre-cut kit, unusual situations can sometimes require an adjustment on site — especially around outlets, vents, windows, staircases, or walls that aren't perfectly square.
One advantage of lightweight polyurethane molding is that small adjustments can often be made much more easily than with traditional wood molding. This can be done with a utility knife.
For straightforward rectangular wall designs, however, having the main pieces cut to their required dimensions beforehand can eliminate the need for a saw altogether.
Is Pre-Cut Wall Molding Easier Than Traditional DIY Molding?
For many homeowners, yes.
Traditional DIY picture-frame molding usually involves purchasing long molding lengths, calculating the dimensions of every piece, marking the cuts, cutting accurate miters, correcting mistakes, and then finally installing everything.
With pre-cut molding, much of that work has already been completed.
Instead of:
Measure → calculate → cut → test → recut → install
your project becomes much closer to:
Position → level → install → paint
That's particularly useful if you love DIY projects but don't own woodworking equipment — or simply don't want your dining room turning into a temporary carpentry workshop.
Can Beginners Install Wall Molding?
Absolutely. Picture-frame molding can be a very approachable DIY project when the cutting is removed from the equation.
Take your time with positioning and leveling. Don't rush through the first panel: once you establish your spacing and placement, the remaining panels become much easier.
Get the Custom Wall Look — Without the Saw
Wall molding can completely change the character of a room. A plain builder-grade wall can become an architectural feature with surprisingly little added material.
And you don't necessarily need a workshop full of tools to achieve the look.
WondrWallz pre-cut wall molding kits are designed to make the process easier. Choose a design or provide your wall measurements for a custom layout, and the molding can be cut for your project before it arrives.
We do the cutting. You do the transforming.