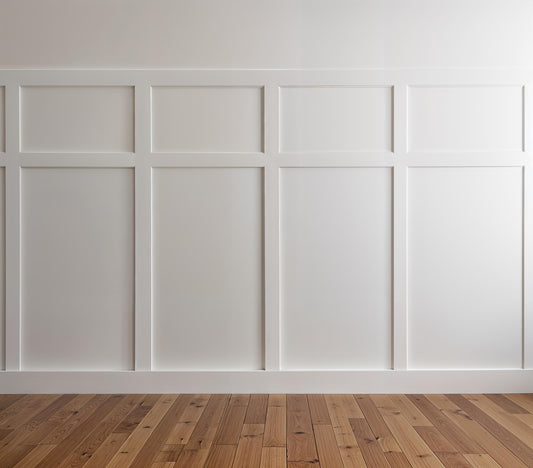
How Much Does Wall Molding Cost? (Real Budget Guide for DIY & Professional Installation)
Partager
If you've been dreaming of adding wall molding to your home, one of the first questions you're probably asking is:
How much does wall molding actually cost?
The answer depends on several factors, including the size of your project, the material you choose, whether you're installing it yourself or hiring a professional, and whether you're purchasing individual trim pieces or a custom pre-cut kit.
In this guide, we'll break down the realistic costs for both the United States (USD) and Canada (CAD) so you can budget your project with confidence.
Average Wall Molding Cost by Project Size
| Project | USD | CAD |
|---|---|---|
| Small accent wall | $150–400 | $200–550 |
| Bedroom feature wall | $300–800 | $400–1,100 |
| Dining room | $300–900 | $400–1,250 |
| Living room feature wall | $400–1,200 | $550–1,650 |
| Full room | $800–3,000+ | $1,100–4,100+ |
These estimates assume a DIY installation using paint-grade molding.
What Affects the Cost?
The biggest factors include:
- Wall size
- Number of panels
- Material
- Trim profile
- DIY vs professional installation
- Painting
- Whether the trim comes pre-cut
Material Costs
Different materials come with different price points and performance benefits.
| Material | USD (per linear ft.) | CAD (per linear ft.) |
|---|---|---|
| MDF | $1–7 | $1.40–9.50 |
| PVC | $1–4 | $1.40–5.50 |
| Polyurethane | $2–10 | $2.75–13.75 |
| Solid Wood | $3–30+ | $4–41+ |
MDF
Pros
- Budget-friendly
- Paints beautifully
- Easy to cut
Cons
- Can swell if exposed to moisture
Solid Wood
Pros
- Premium appearance
- Can be stained
- Very durable
Cons
- Most expensive option
- Can expand or contract with humidity
Polyurethane
Pros
- Lightweight
- Moisture-resistant
- Won't warp or crack
- Ideal for bathrooms, kitchens and laundry rooms
Cons
- Slightly higher material cost than MDF
DIY Installation Costs
If you're comfortable with basic DIY projects, wall molding is one of the easiest ways to dramatically upgrade a room while keeping costs low.
Besides the molding itself, you'll typically need:
| Item | USD | CAD |
|---|---|---|
| Construction adhesive | $8–15 | $10–20 |
| Caulk | $5–10 | $7–14 |
| Wood filler | $6–12 | $8–16 |
| Paint (per can) | $40–80 | $55–110 |
| Sandpaper & supplies | $10–25 | $14–35 |
Total DIY Supplies
USD: $70–150
CAD: $95–205
Professional Installation Costs
Hiring a finish carpenter significantly increases the total cost but eliminates most of the work.
Typical professional installation costs:
| Project | USD | CAD |
|---|---|---|
| Small feature wall | $300–800 | $400–1,100 |
| Living room feature wall | $900–2,000 | $1,250–2,750 |
| Full room | $2,000–5,000+ | $2,750–6,900+ |
Many contractors also charge separately for:
- Painting
- Surface preparation
- Caulking
- Filling nail holes
- Cleanup
Example Budget: 14-Foot Feature Wall
DIY
| Expense | USD | CAD |
|---|---|---|
| Trim | $150–350 | $200–480 |
| Adhesive & caulk | $20–40 | $28–55 |
| Paint | $40–80 | $55–110 |
| Miscellaneous supplies | $40–80 | $55–110 |
| Estimated Total | $250–550 | $340–755 |
Professionally Installed
| Expense | USD | CAD |
|---|---|---|
| Materials | $250–500 | $340–690 |
| Labor | $600–1,500 | $825–2,070 |
| Painting | $150–400 | $205–550 |
| Estimated Total | $1,000–2,400 | $1,370–3,310 |
Buying Individual Trim vs. Custom Pre-Cut Kits
Many homeowners assume buying trim from a home improvement store is always the cheapest option. While the upfront material cost may be lower, there are additional factors to consider.
Buying Individual Trim
Pros
- Lower upfront material cost
- Readily available
- Good for experienced DIYers
Cons
- Requires designing the layout yourself
- Every piece must be measured and cut
- More waste from incorrect cuts
- Additional tools required
- Can take many hours to complete
Custom Pre-Cut Wall Molding Kits
Pros
- Designed specifically for your wall dimensions
- Pieces arrive pre-cut and ready to install
- Less measuring and cutting
- Reduced material waste
- Faster installation
Cons
- Higher upfront purchase price than loose trim
For many homeowners, the time saved and reduced risk of mistakes outweigh the higher initial cost.
How to Save Money on Wall Molding
If you're working with a budget, here are a few ways to reduce costs without sacrificing the final look:
- Start with one feature wall instead of an entire room.
- Choose fewer, larger panels rather than many small ones.
- Install the molding yourself.
- Paint the molding the same color as the wall for a seamless, designer look.
- Plan your layout before purchasing materials to minimize waste.
- Use moisture-resistant materials only where needed.
Is Wall Molding Worth the Cost?
Wall molding remains one of the most affordable ways to make a home feel custom-built.
Compared to major renovations, it offers a dramatic visual transformation at a relatively modest cost. A well-designed layout can add architectural character, elevate builder-grade walls, and create a timeless, high-end look that complements almost any interior style.
Whether you're tackling a single accent wall or transforming an entire room, thoughtful planning can help you stay within budget while achieving professional-looking results.
Planning Your Own Wall Molding Project?
At WondrWallz, we design custom-sized, pre-cut polyurethane wall molding kits that are tailored to your exact wall dimensions. Every kit is cut to size, labeled, and ready to install, making it easier to achieve balanced panel layouts without spending hours measuring and cutting.
Simply send us your wall measurements and a photo of your space, and we'll help you create a design that fits your home perfectly.
Sources
The cost ranges in this guide are based on current North American averages for trim materials, finish carpentry labor, and residential remodeling costs from industry pricing guides and contractor estimates, adapted for both U.S. and Canadian homeowners.